3D printing has transformed the way inventors, designers, and everyday hobbyists bring their concepts to life. Gone are the days when you needed expensive tooling or large-scale manufacturing for custom parts. Today, with just a spark of creativity, a CAD design, and the right printer, you can turn your idea into a functional prototype—or even an end-use product. In this post, we’ll walk you through the step-by-step process of going from a simple sketch to holding your 3D-printed object in your hands. We’ll also highlight how our team at Hudson 3D Labs can assist—especially if you don’t have prior design or engineering experience.
1. Concept & Ideation
The journey begins with an idea. Whether it’s a new phone accessory, a functional tool, a decorative piece, or something else entirely, you’ll want to define the purpose and basic shape of your product:
- Brainstorm: Jot down notes, do some research, and outline the features or functionalities you need.
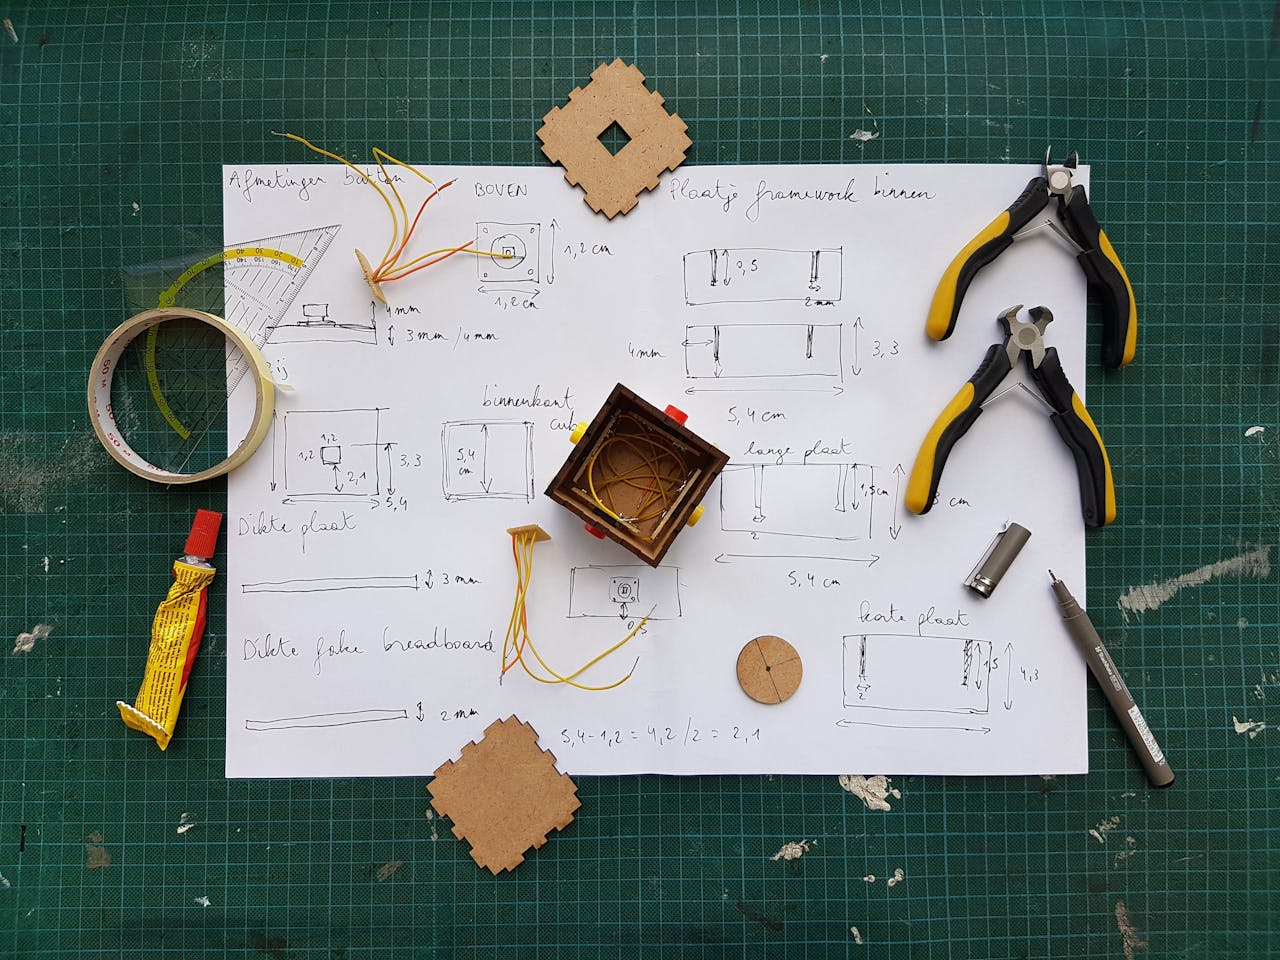
- Sketch: Draw a rough sketch on paper or a tablet—this helps you clarify shape, dimensions, and how parts might fit together.
How Hudson 3D Labs Helps
Not sure if your idea is feasible or missing an element of functionality? Our team has an engineering background, and we love turning rough concepts into viable solutions. We can guide you on practical design considerations to ensure your product works as intended.
2. 3D Modeling & CAD Design
With your concept in mind, the next step is creating a 3D model using computer-aided design (CAD) software. This is essentially the digital blueprint of your future print.
- Choose Software: Popular programs include Fusion 360, SolidWorks, Blender, or FreeCAD. If you’re not familiar with these, simpler browser-based options like Tinkercad or SketchUp are also available for entry-level designs.
- Model Construction: Start with basic shapes and extrude or subtract material to form your part. Pay attention to the final dimensions, tolerances (where parts need to fit together), and any special details like holes or hinges.
How Hudson 3D Labs Helps
No CAD experience? No problem. Just bring us your sketches or ideas, and we’ll do the 3D modeling for you. Our experts ensure the file is optimized for printing—so you don’t have to worry about design pitfalls like overly thin walls or unsupported overhangs.
3. File Preparation & Slicing
Once you have a proper 3D model (usually saved as an .STL, .OBJ, or similar format), the next step is slicing—a critical process that converts your 3D model into layers your printer can understand.
- Slicer Software: Programs like Cura, PrusaSlicer, or Simplify3D take your 3D file and generate G-code, which tells the printer exactly how to move, where to deposit material, and at what speed.
- Key Settings: You’ll adjust parameters like layer height (which affects resolution), infill density (the internal structure), and printing temperature (depends on your filament type).
- Supports: If your design has overhangs or complex geometry, you may need support structures that can be removed after printing.
How Hudson 3D Labs Helps
We use advanced slicer software and thoroughly test print settings to ensure each project prints efficiently, with minimal warping or errors. This is especially helpful if you’re new to printing or don’t have the time to tinker with slicer settings.
4. 3D Printing
With your G-code ready, it’s time to hit print! Here’s what typically happens during the printing phase:
- Printer Setup: We load the right filament (PLA, PETG, ABS, Nylon, etc.) into our 3D printer and preheat the bed/nozzle as needed.
- Layer by Layer: The printer follows the G-code instructions, depositing thin layers of melted filament. Over time, these layers form your part.
- Monitoring: We keep an eye on the first few layers (crucial to reduce the risk of print failure) and ensure the process stays on track. For longer prints, we might do spot checks or use camera monitoring.
How Hudson 3D Labs Helps
At Hudson 3D Labs, we have multiple printers and can guide you on which material is best for your project—taking factors like strength, flexibility, and temperature resistance into account. By letting us handle the printing, you avoid issues like bed adhesion problems or clogged nozzles.
5. Post-Processing & Finishing
When the print is complete, you’ll remove it from the printer and possibly do some finishing steps:
- Support Removal: Any supports are carefully clipped or peeled away.
- Sanding: For smoother surfaces, sanding with fine-grit paper can help.
- Painting or Coating: You can prime and paint your part for aesthetic or protective reasons.
- Vapor Smoothing: Certain plastics (like ABS) can be smoothed with an acetone vapor bath, giving them a shiny, professional finish.
How Hudson 3D Labs Helps
We offer finishing services—including sanding, painting, or assembly—so your final product looks and functions exactly as envisioned. Need a prototype to impress potential investors or a final part to hit the market? We can make it presentation-ready.
6. Iteration & Refinement
Once you have the part in hand, it’s common to evaluate how it functions or looks:
- Test Fit: If your part mates with other components, check tolerances and see if adjustments are needed.
- Performance Testing: Stress the part if it’s meant to handle loads or high temperatures.
- Redesign if Needed: If improvements are identified, you can easily revise your CAD model and reprint.
How Hudson 3D Labs Helps
We can expedite iteration cycles by helping you quickly modify your design and print new versions—much faster and more affordable than retooling for traditional manufacturing.
Let’s Bring Your Idea to Life!
3D printing is an incredibly versatile technology—whether you’re a hobbyist creating a one-off gadget, a startup prototyping a new product, or an established company streamlining R&D.
- No Design Experience? Don’t worry. Our engineering and design team can take your concept, refine it, and produce a high-quality 3D-printed item.
- Already Have a CAD File? Send it our way, and we’ll handle the printing and post-processing, ensuring a professional result.
Ready to get started?
- Contact us today to discuss your project requirements.
- Let’s work together to turn your vision into a reality—quickly, affordably, and with expert attention to detail.
At Hudson 3D Labs, we’re here to help every step of the way, from idea to finished product. Embrace the power of 3D printing and watch your imagination take shape!